Learners interact with events throughout the User Portal, from a new user registering for the first time to event calendars and waiting lists.
This article outlines the following concepts:
- Access the Event Registration Page
- Event Calendar
- Register for an Event
- Join an Event
- Cancel Registration
Access the Event Registration Page
To register for an event, users must access the Event Details screen. The main method to access this screen is by accessing the Event Navigation Menu Item from the left-side navigation. After finding the right event, a user clicks View Details.

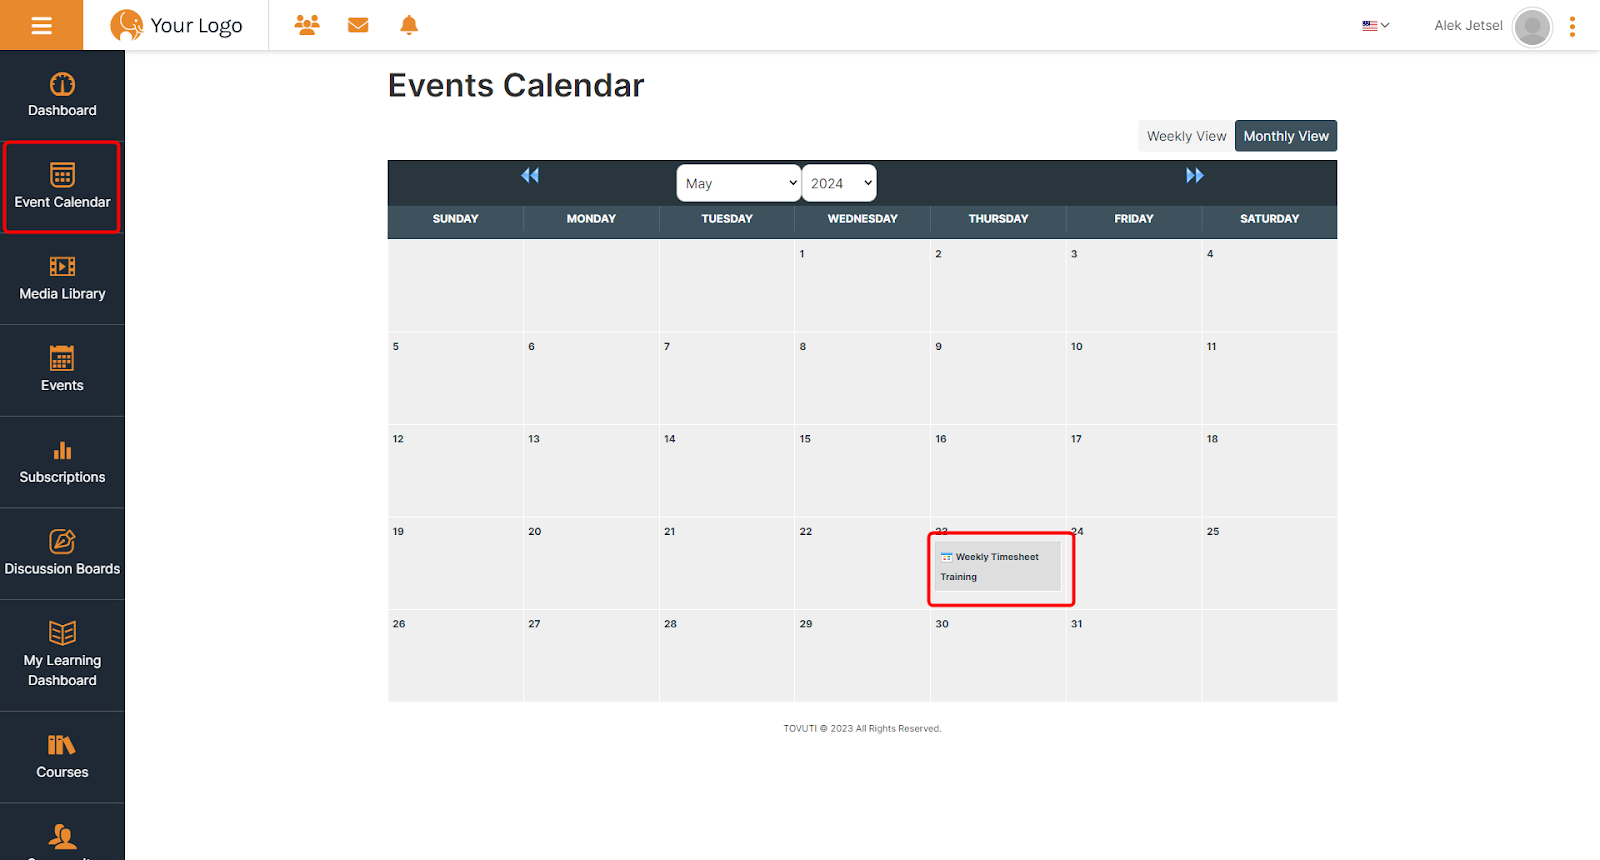
Event Calendar
Users may also access Event Details from an Event Calendar Navigation Menu Item.
Users may also access the Event Details page from the Course Events list or the Lesson Activities screen.
From the Event Details page, learners review important dates, capacity, and prices.
If applicable, Users are shown Group Rates.
Register for an Event
To register, users click Register (Individual) or Register (Group).
The User’s profile information is auto-filled to the Event Registration Form.
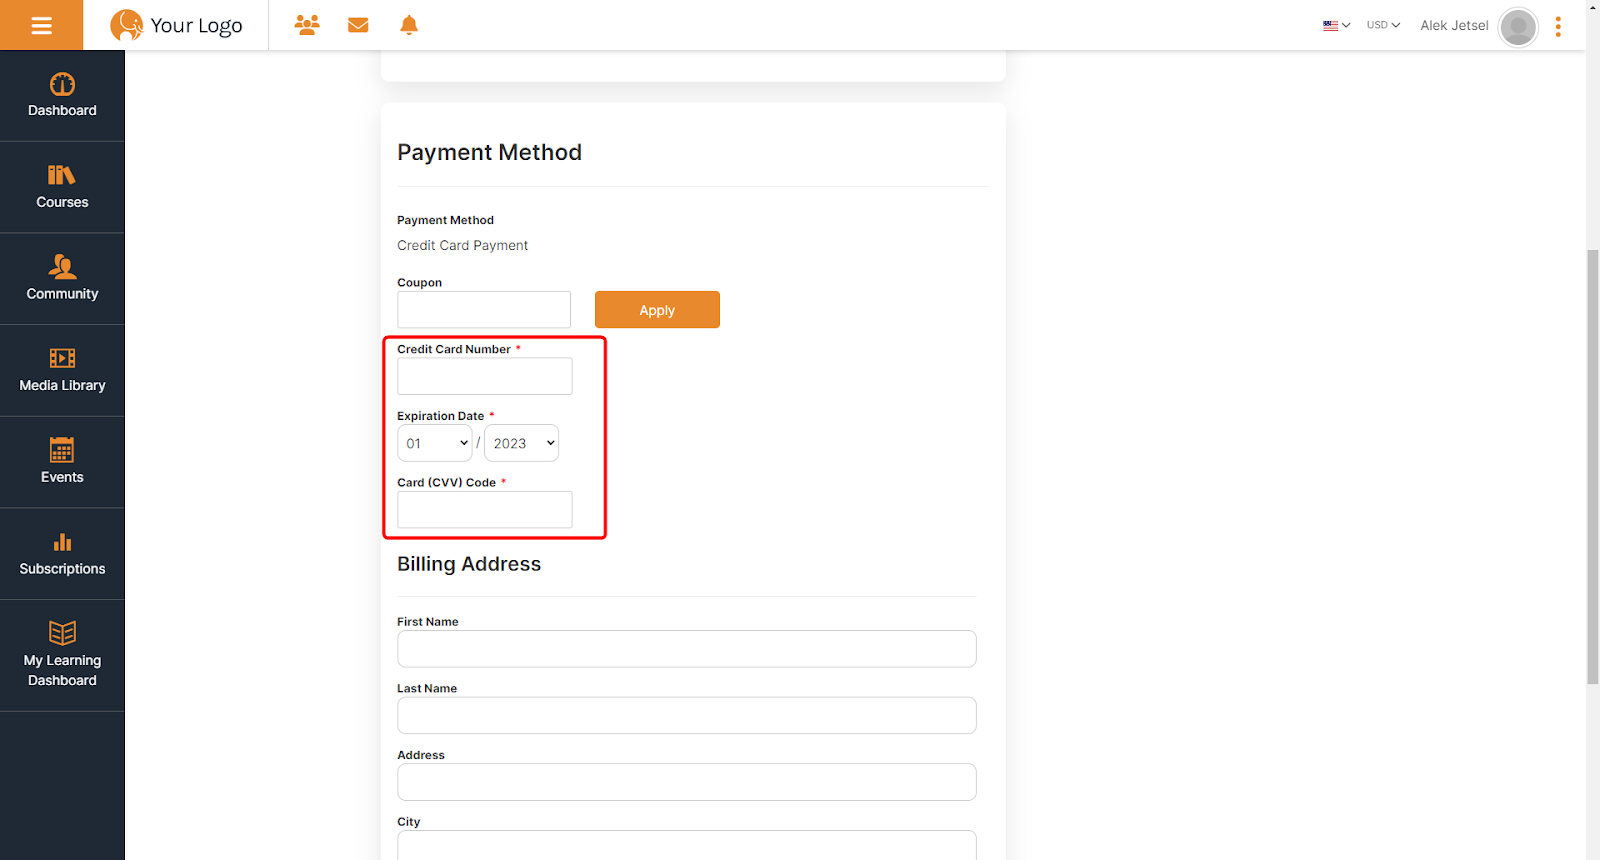
If an event requires payment, users may enter a Coupon.
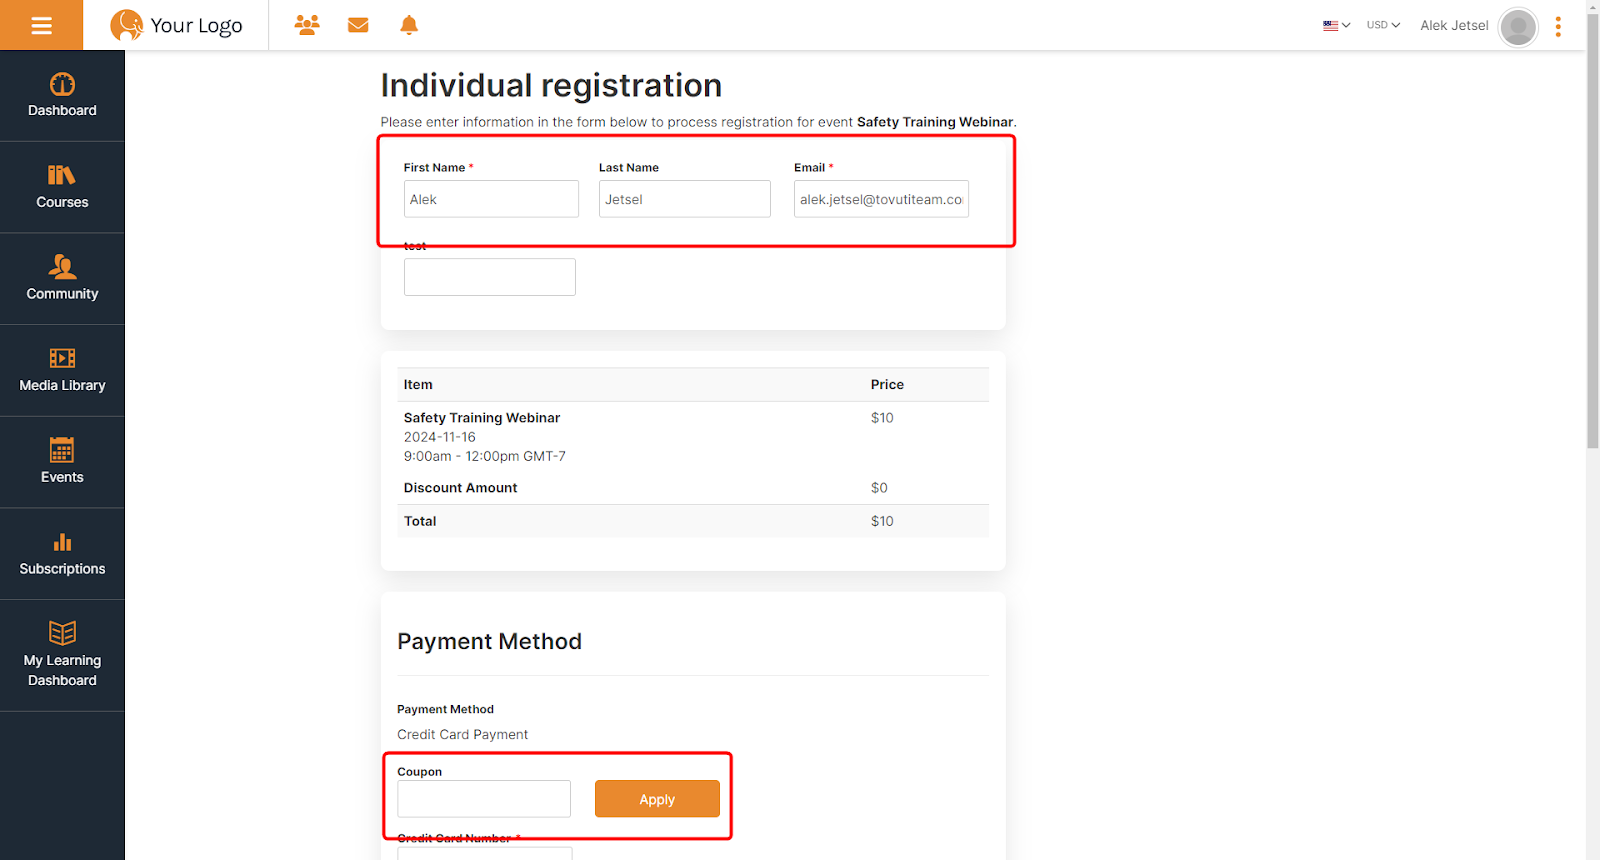
Users enter their credit card information to purchase the course.
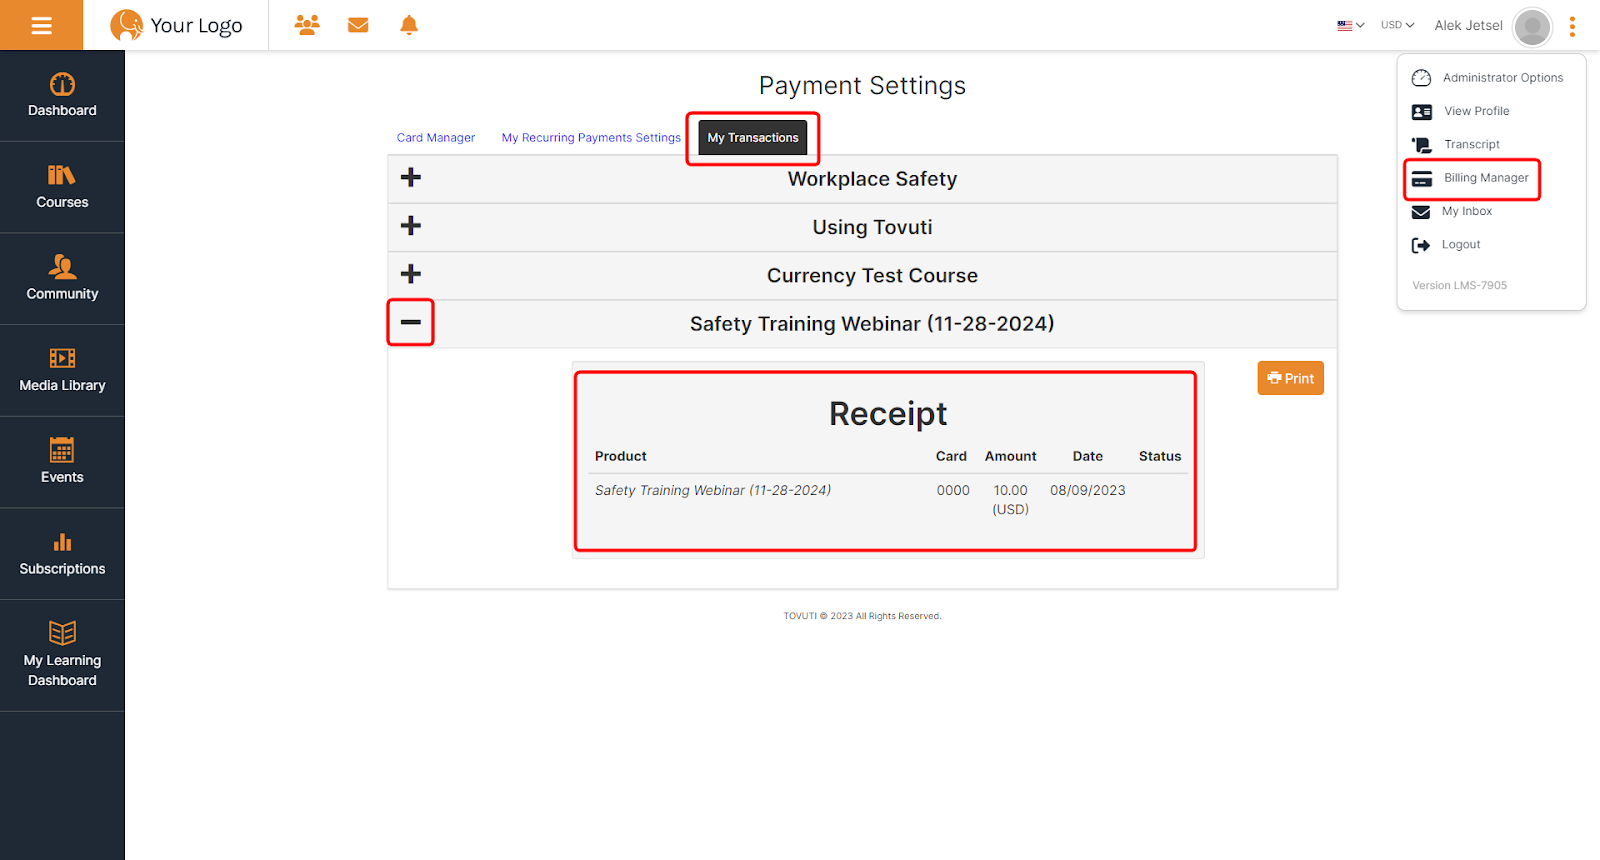
After registering, users are shown the Registration Completed Message.

Once registration for an Event is completed, the transaction is logged in the My Transactions tab of the Billing Manager.
Join an Event
Users are able to join and participate in an Event with a Virtual Classroom from the User Portal.
To join an Event for which a user has registered, they go to their Learning Dashboard.
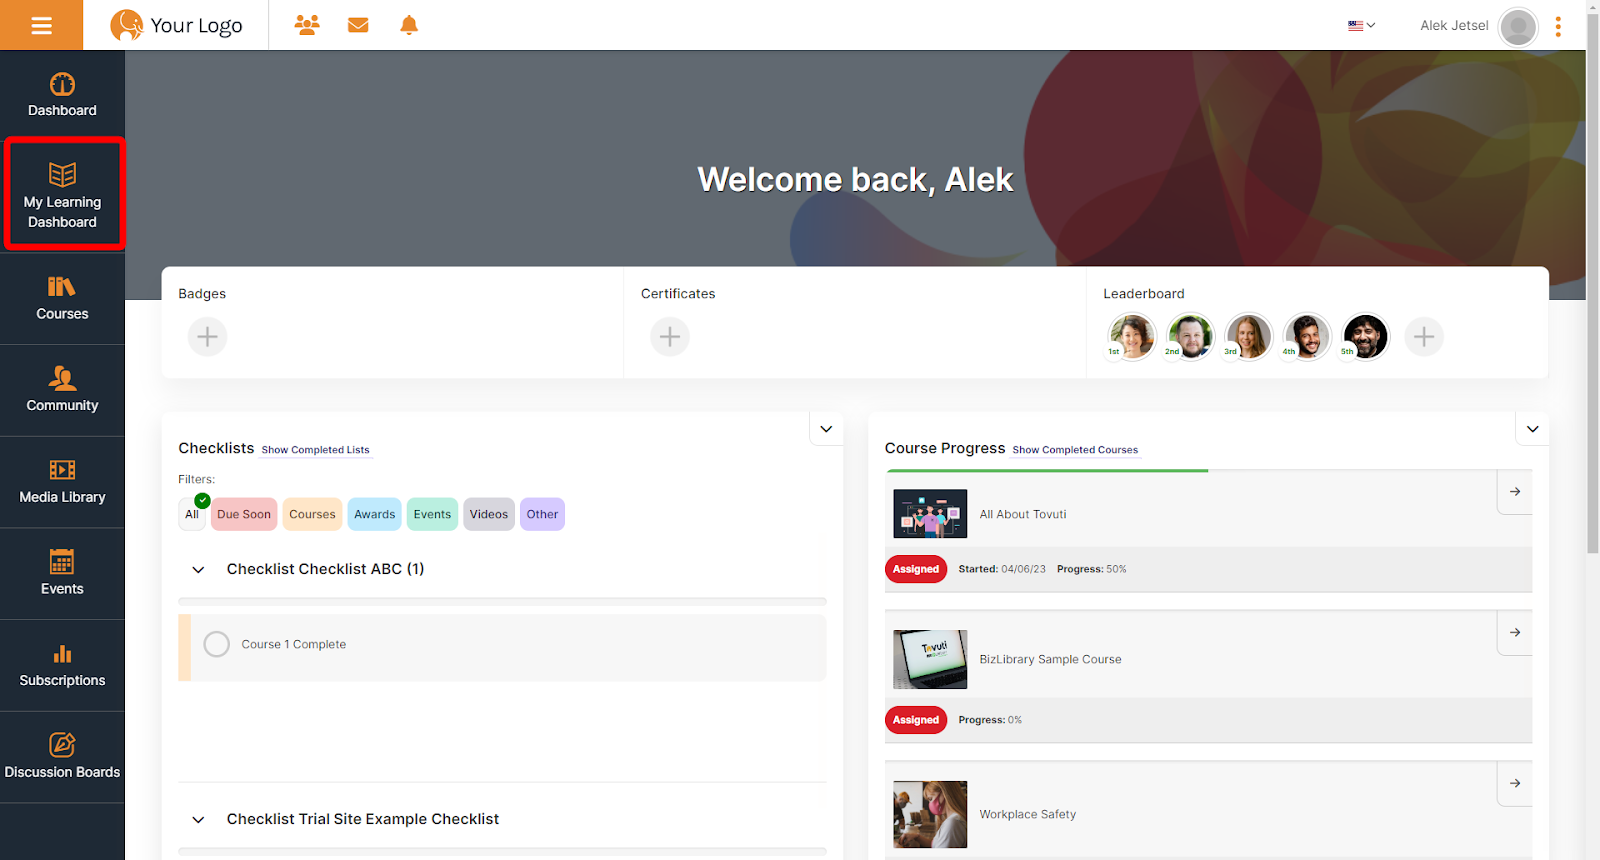
Users scroll to the Events and Classes section and click Join Class or Meeting.
The Join Class or Meeting Button is only shown if accessed within the Event Start/End Date window.
Users are taken to the associated Virtual Classroom.
Cancel Registration
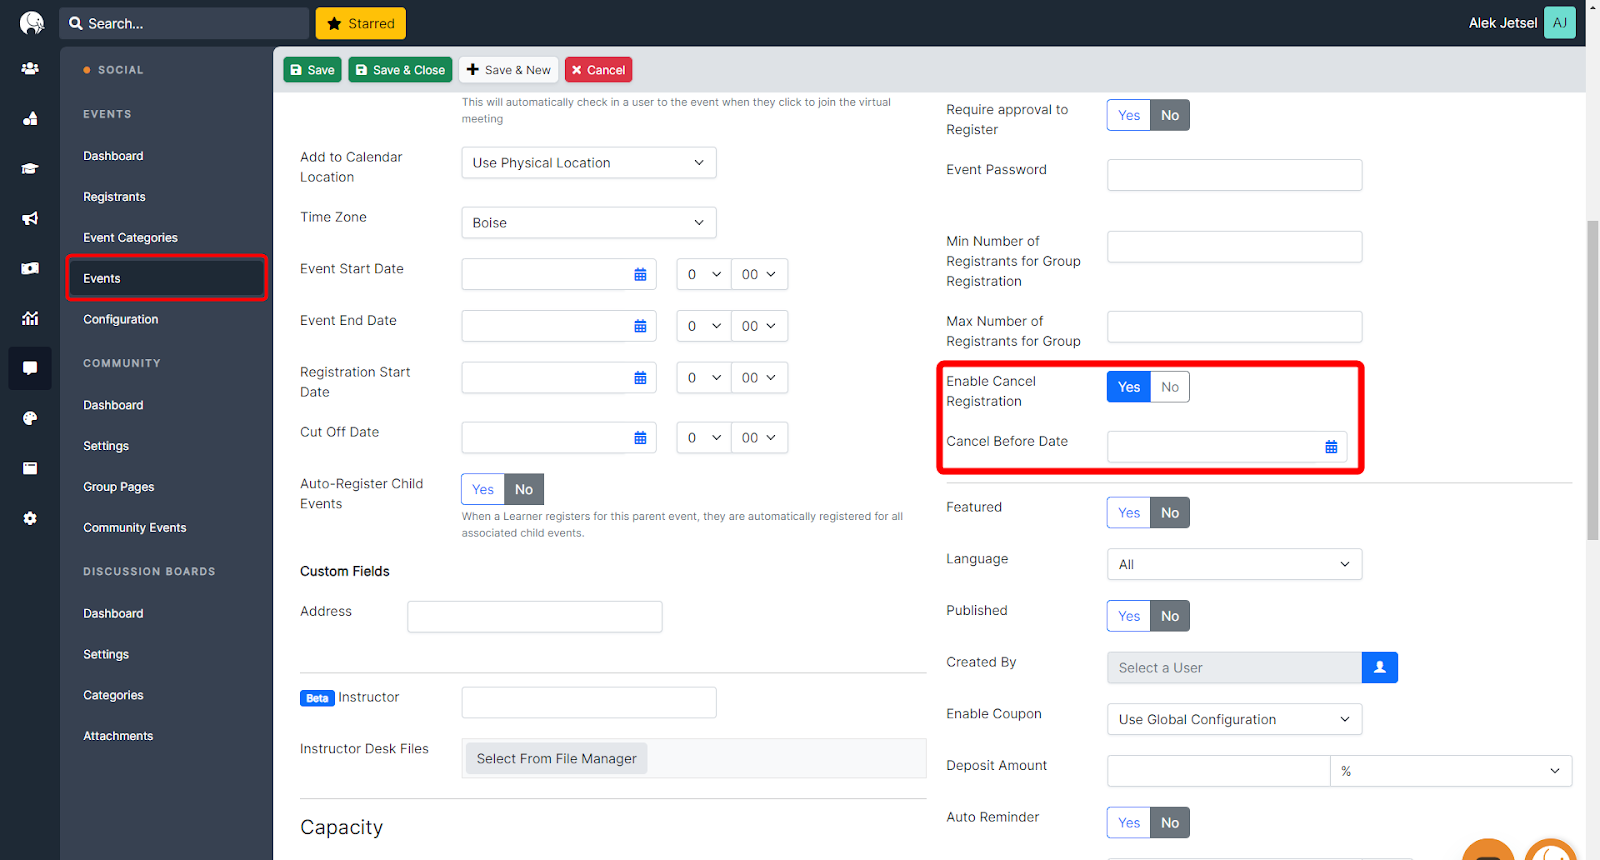
User Event cancellation is only available when it’s both enabled it’s in the Event editor and a Cancel Before Date is selected.
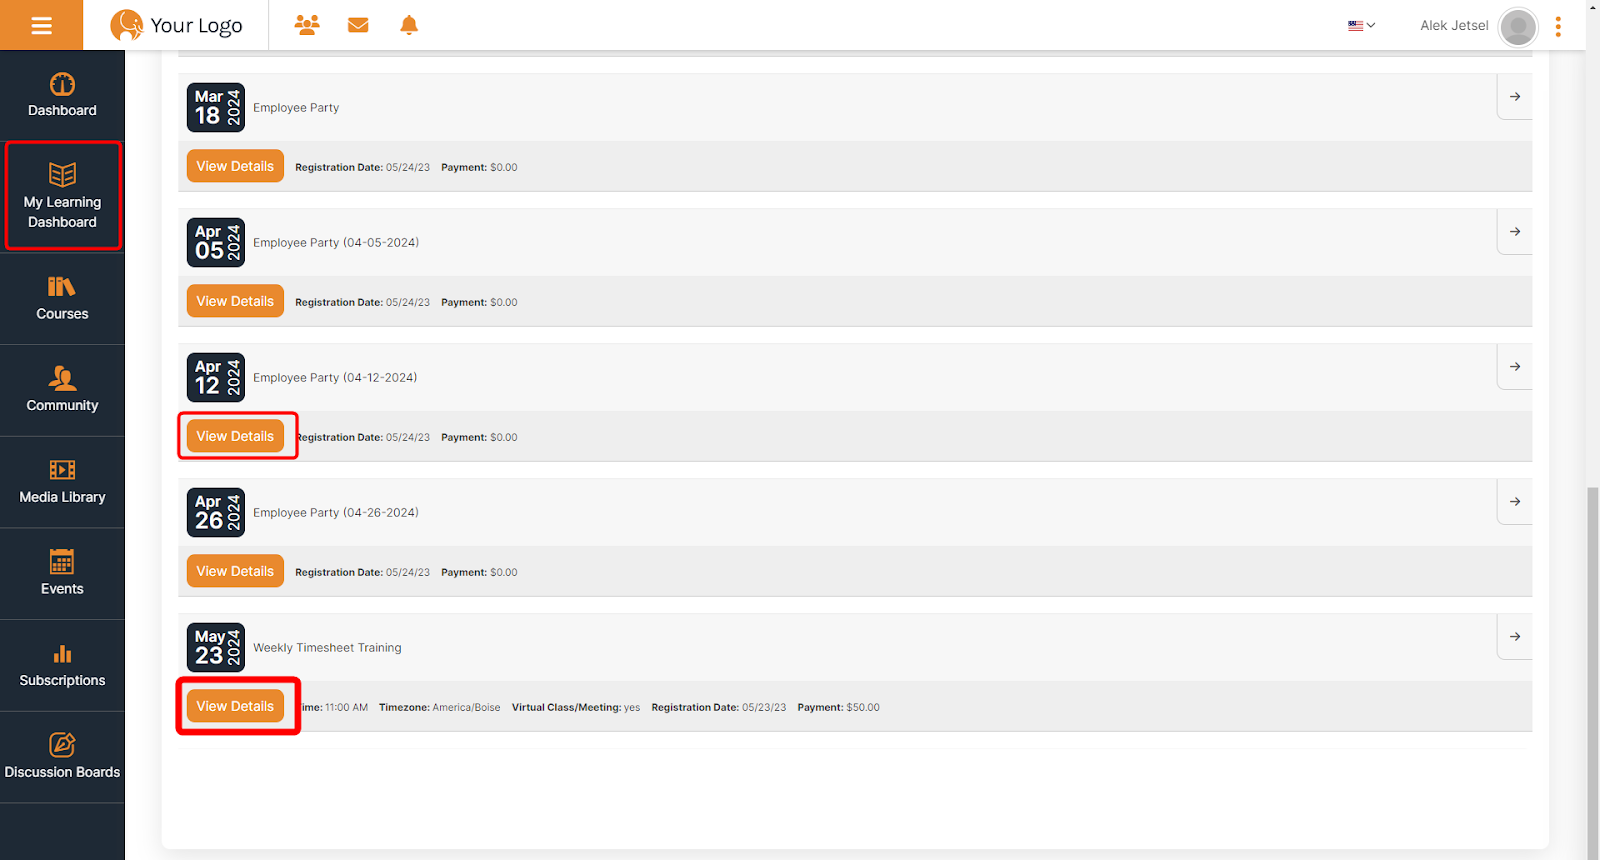
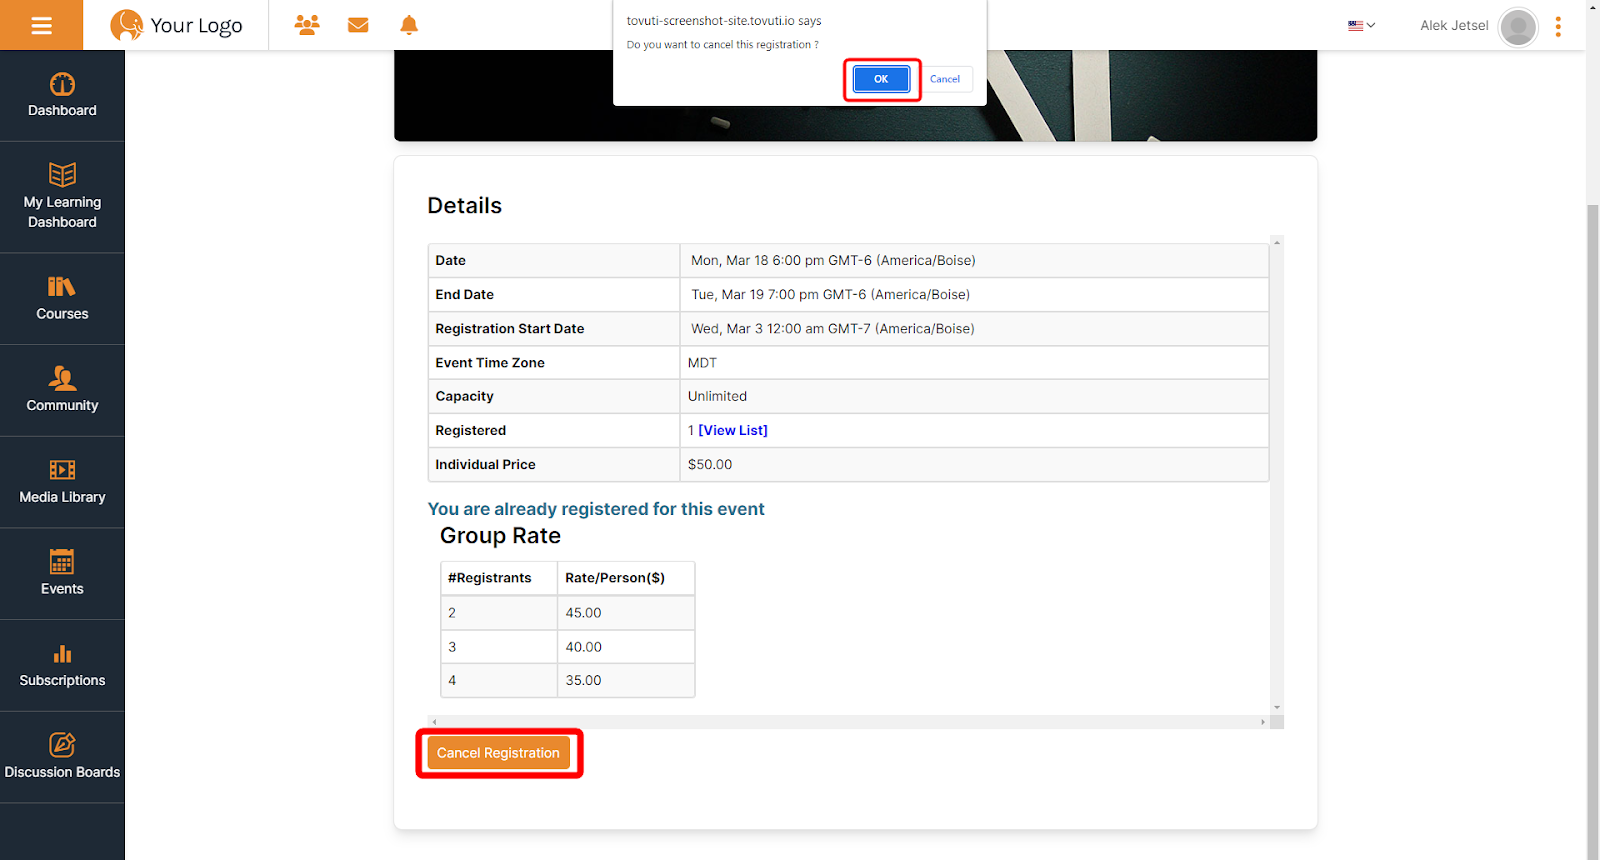
In the Learner Dashboard, Users click View Details for the Event they wish to cancel.
Users click Cancel Registration and are prompted again to confirm their cancellation.
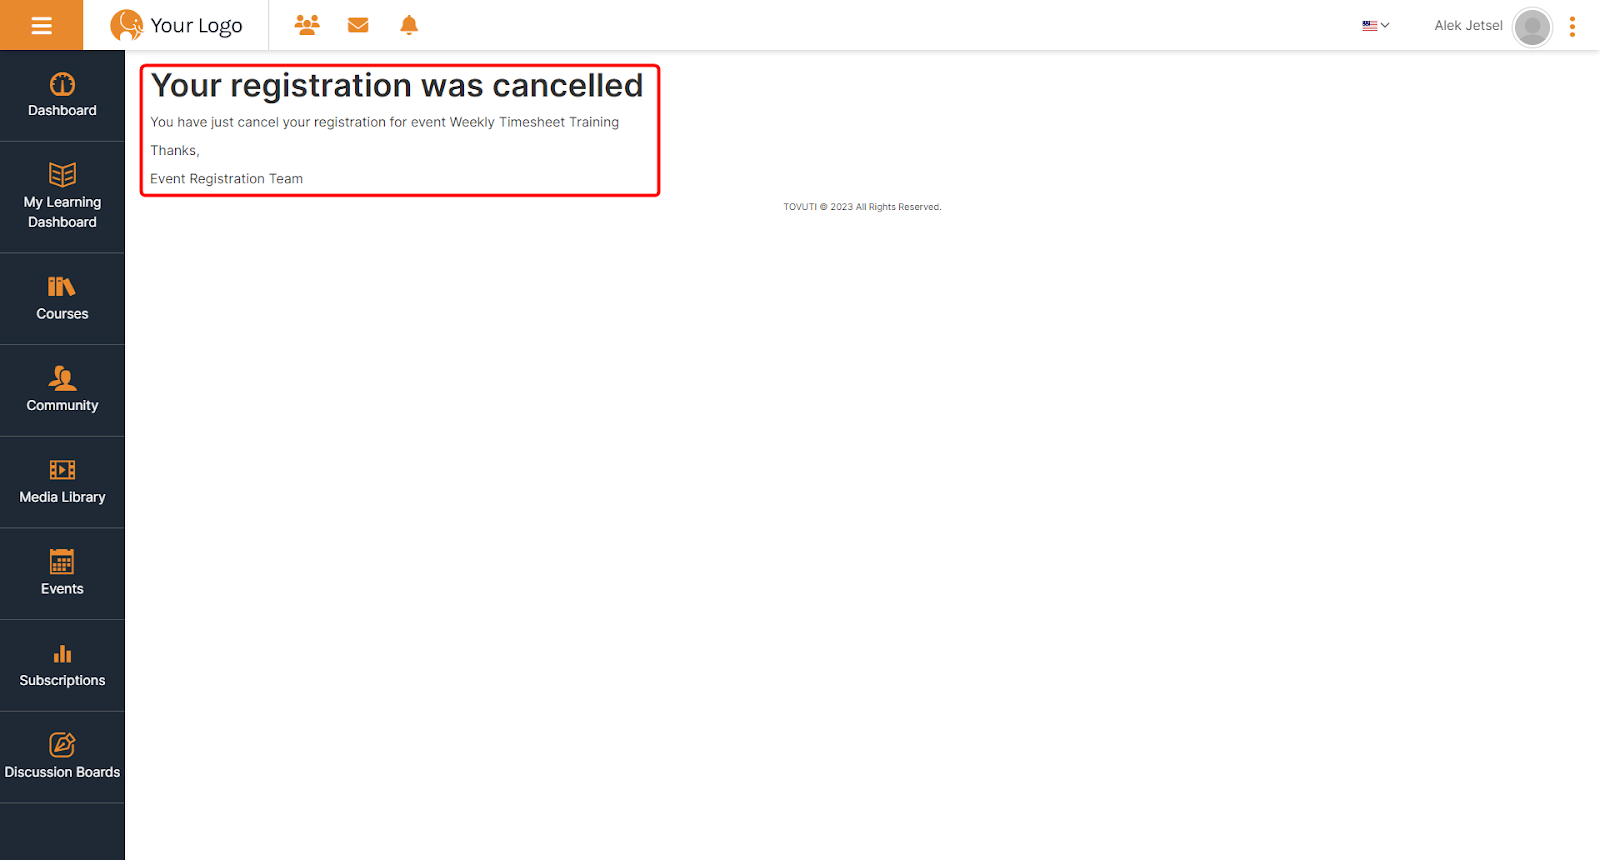
The User’s cancellation is confirmed and shown the associated Cancellation Message.
When a user cancels their registration to an Event that auto-enrolls Child/Recurring Events, they are also removed from those additional event dates.